
Blog
How To
How to Optimize Google Business Profile for Multiple Locations

Managing local search visibility across ten, twenty, or fifty locations is one of the most underestimated challenges in multi-location marketing. Each Google Business Profile is a standalone listing that can win or lose customers independently — and most businesses leave that potential untapped.
A poorly maintained multi-location Google Business Profile means missed map placements, inconsistent NAP data, and lost ground to competitors who show up first. The stakes are high: Google Maps is where purchase decisions happen.
This guide walks through every step required to build, verify, and optimize a Google Business Profile for multiple locations. Whether you manage a restaurant group, a dental practice network, or a home services franchise, the process is the same — and the payoff in local SEO is measurable.
Follow these steps in order. Each one builds on the last, and skipping ahead creates the exact inconsistencies that suppress local rankings.
Prerequisites: What You Need Before Step 1
Before you touch a single listing, gather everything you need. Missing information mid-setup causes inconsistencies that are difficult to untangle later.
You will need a verified Google account with owner-level access to use as your Google Business account. If your brand already has listings claimed under different emails, consolidate ownership before proceeding. Fragmented ownership is one of the most common causes of data conflicts in multi-location setups.
You also need accurate NAP data for every location: the exact legal business name, full street address, and primary phone number. These must match what appears on your website, your citations, and any other directories. Prepare this in a spreadsheet before you start.
- A single Google account with owner access — not manager access — for the brand
- A verified spreadsheet of NAP data for every location, proofread for consistency
- The primary business category and up to nine secondary categories agreed upon brand-wide
- High-resolution photos for each location: exterior, interior, team, and product or service shots
- Access to Google Search Console to cross-reference organic performance after optimization
- A list of all existing claimed or unclaimed listings to audit before adding new ones
Step 1: Audit Existing Listings Before Adding Anything
Purpose: Identifying duplicate or unclaimed listings before you create new ones prevents conflicting signals that suppress all your locations in local search.
Search Google Maps for your brand name in every city where you operate. Look for duplicate listings, outdated addresses, listings claimed by former employees, or locations showing incorrect hours. Document every issue in your spreadsheet.
Request ownership of any unclaimed listings through the standard Google Business Profile login process. Do not create new listings for locations that already exist in Google's index — duplicates confuse the algorithm and split ranking authority.
- Search '[Brand Name] + [City]' in Google Maps for each location and screenshot results
- Flag any listing not claimed under your central Google Business account
- Identify and log all duplicate listings for removal or merge requests
- Check that existing listings show the correct address, phone number, and website URL
- Note which listings have zero or outdated photos — these will be prioritized in Step 5
- Record average star ratings and review counts per location as a baseline
Step 2: Set Up or Access Your Central Google Business Account
Purpose: A single, centrally managed Google Business account is the foundation for efficient multi-location management. Without it, you cannot use bulk upload or location groups.
Navigate to business.google.com and sign in with the Google account designated as the brand owner. If your organization has never set up a business account, you will create one here. If one exists, confirm you have owner-level access — manager access does not allow bulk uploads or ownership transfers.
Once inside, look for the option to create a location group (also called a business group). Location groups let you organize listings by region, franchise territory, or brand tier and assign manager access to regional teams without giving them full account control. This structure is essential for brands operating at scale.
- Go to business.google.com and sign in with the owner-level Google account
- Confirm account type is set to 'Business Account,' not a personal profile
- Create a location group and name it clearly (e.g., '[Brand] — US Locations')
- Assign regional manager access within the group, not at the account level
- Enable two-factor authentication on the owner account to prevent unauthorized changes
- Link the account to Google Search Console and Google Ads account if not already connected
Step 3: Add Multiple Locations Using Bulk Upload
Purpose: For brands adding ten or more locations, bulk upload is the only practical path. It enforces data consistency and cuts setup time from days to hours.
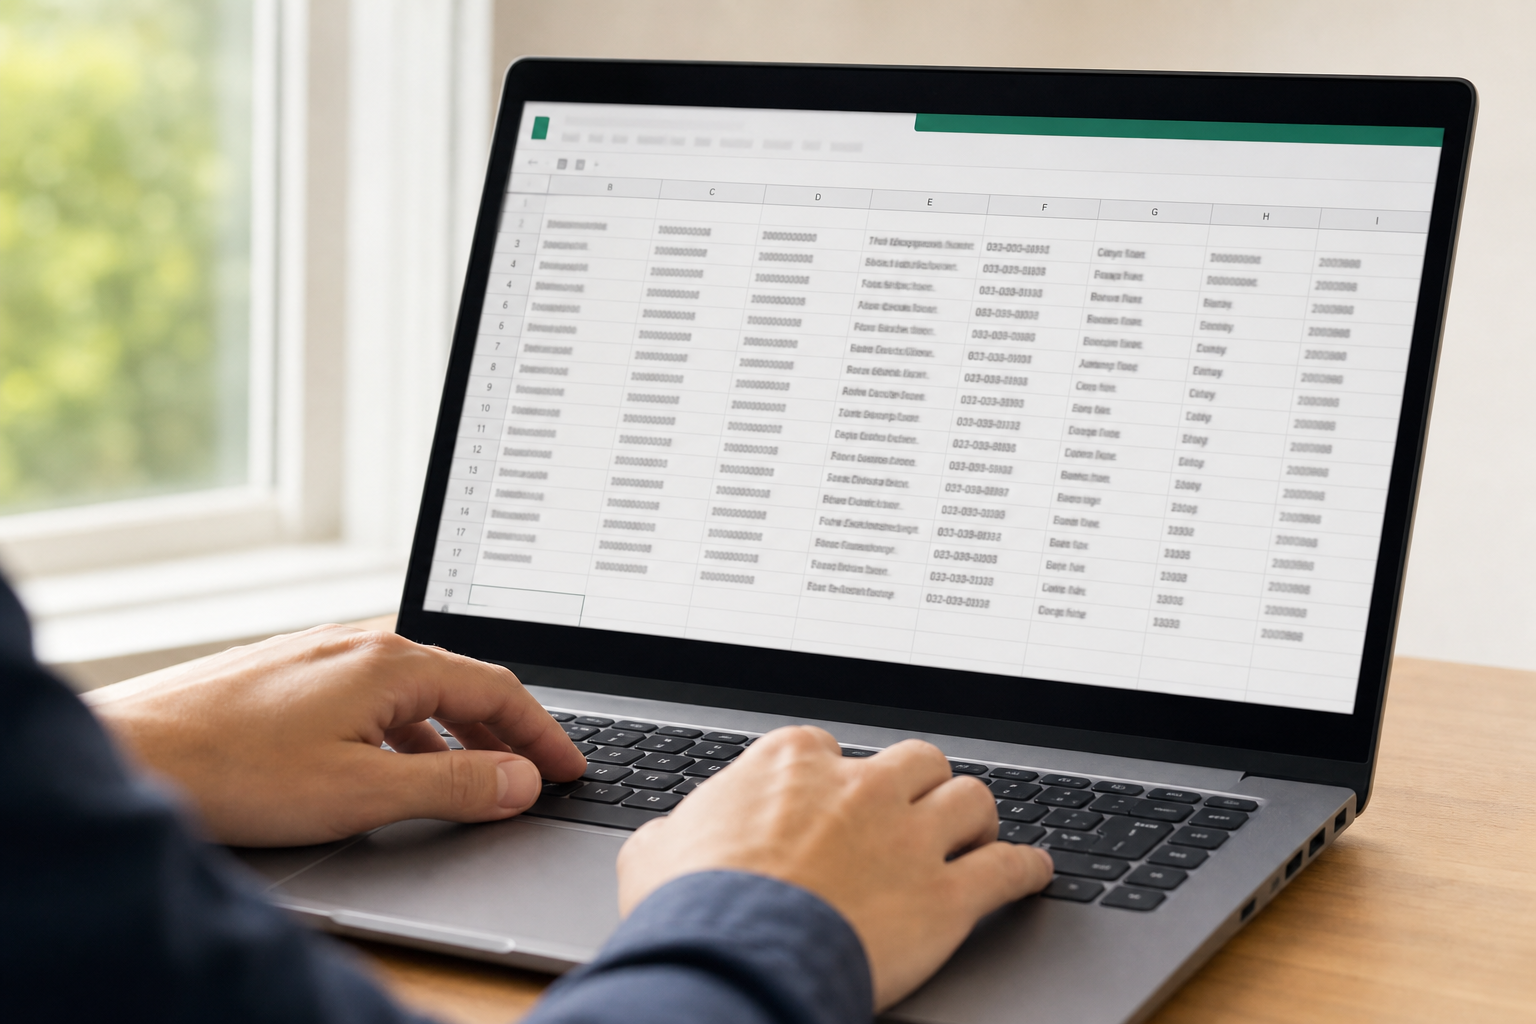
Inside your location group, select 'Add locations' and choose 'Import locations.' Download Google's official spreadsheet template. This template includes every field Google accepts: store code, business name, address, phone, website, hours, and categories. Fill it out using the NAP spreadsheet you prepared in prerequisites.
Common mistake to avoid: Do not copy-paste business names with slight variations ('Cube SEO' vs. 'Cube SEO Services' vs. 'Cube'). Every listing must use the exact same brand name as it appears on your website. Inconsistency here is one of the leading causes of local ranking suppression across a multi-location Google Business Profile setup.
- Download the bulk upload template directly from your Google Business account location group
- Fill in the 'Store Code' column with a unique internal ID for each location — this is required for bulk edits later
- Use identical business name formatting across every row — no abbreviations, no variants
- Include the primary category in every row; secondary categories can be added post-upload
- Upload the completed spreadsheet and review the error report before proceeding
- Re-upload corrected rows for any listings that failed validation
Step 4: Verify Each Location
Purpose: Unverified listings do not appear in Google Maps results. Verification confirms to Google that each physical location is real and operated by your brand.
Verification methods vary by location count and eligibility. Single locations typically verify by postcard, phone, or video. Brands with 10 or more locations may qualify for bulk verification, which requires submitting a verification request form to Google with documentation of your business. This process can take two to four weeks.
Common mistake to avoid: Do not make significant edits to a listing while it is pending verification. Changes during the verification window can restart the process and delay your go-live date significantly.
- Check each listing's verification status inside your location group dashboard
- For fewer than 10 locations, use postcard or video verification per listing
- For 10 or more locations, apply for bulk verification via the Google Business support request form
- Provide a business license, utility bill, or official business registration document when prompted
- Allow 2 to 4 weeks for bulk verification approval before following up with Google support
- Once verified, confirm each listing shows 'Published' status in the dashboard
Step 5: Optimize Five Core Profile Elements on Every Listing
Purpose: Verification makes a listing exist. Optimization makes it rank. These five elements have the most direct impact on local search visibility and Google Maps placement.
Categories drive relevance. Choose the most specific primary category available, then add up to nine secondary categories that reflect actual services at each location. A healthcare practice, for example, should not use the same secondary categories as a retail location in the same brand group.
Photos drive engagement. Listings with active photo sets consistently outperform those with few or stock images. Upload location-specific exterior and interior shots, not generic brand assets. Update photos seasonally and after any location changes.
- Categories: Set one precise primary category and up to nine relevant secondary categories per location
- Business description: Write a unique 750-character description per location using local keywords and specific services offered at that site
- Hours: Confirm regular hours are accurate and add special hours for holidays — outdated hours are one of the top reasons customers report a listing as incorrect
- Photos: Upload a minimum of 10 photos per location including exterior, interior, team, and product or service images
- Q&A section: Pre-populate at least five common questions with brand-approved answers to control the narrative and support local SEO
- Services and products: Add the specific services or menu items available at each location, not a copy-paste of the brand-wide catalog
Step 6: Build a Location-Specific Review Management System
Purpose: Reviews are a direct local search ranking signal. A multi-location brand with inconsistent review activity across listings loses Share of Local Voice to competitors with fewer locations but more active profiles.
Assign a review response owner for each location or use a centralized platform that monitors all listings simultaneously. Every review — positive or negative — should receive a response within 24 to 48 hours. Unanswered negative reviews compound in impact; Google surfaces recency and response rate in its quality signals.
Proactively prompt satisfied customers to leave a review on Google immediately after a completed service or visit. Timing matters: review request conversion rates drop sharply after 24 hours post-interaction. Cube's review management service, used by multi-location brands in healthcare, hospitality, and home services, automates this request sequence across all locations from a single dashboard.
- Set up review monitoring alerts for every location so no review goes unnoticed beyond 24 hours
- Use templated but personalized response frameworks for the five most common review types
- Send review request prompts via SMS or email within 24 hours of a completed transaction or visit
- Never incentivize reviews — Google's terms prohibit this and violations can result in listing suspension
- Track average star rating and monthly review volume per location as a core local SEO KPI
- Escalate negative feedback privately before it is posted publicly where possible
Step 7: Monitor Performance and Run Ongoing Local SEO Maintenance
Purpose: A Google Business Profile is not a set-and-forget asset. Algorithm updates, competitor activity, and user-suggested edits all change listing performance over time.
Inside your Google Business account, review the Insights tab monthly for each location group. Track search queries that triggered your listing, the actions users took (calls, direction requests, website clicks), and photo view trends. Cross-reference this data with Google Search Console to identify which locations need content or citation support.
Success criterion: You know this process worked when every listed location appears in the Google Maps local pack for its primary service plus city keyword, review response rate is above 90% across all listings, and month-over-month direction requests and call clicks are trending upward. These are the measurable outcomes that confirm your multi-location Google Business Profile optimization is functioning as a growth engine, not just a directory listing.
- Review Google Business Insights monthly for each location: queries, clicks, and direction requests
- Check for and reject unauthorized user-suggested edits to addresses, hours, or categories
- Update posts and offers on each listing at least twice per month to signal active management
- Audit NAP consistency across all locations quarterly using a citation audit tool
- Track local keyword rankings per location using search engine optimization rank tracking tied to city-level keywords
- Schedule a full profile audit every six months to catch category drift, photo staleness, and outdated service listings
| Approach | Setup Complexity | Time to Verify | Scalability | Best For |
|---|---|---|---|---|
| Manual Single-Listing Entry | Low per listing, high at scale | 3–7 days per location | Poor — does not scale past 10 locations | Brands with 1–5 locations |
| Bulk Upload via Spreadsheet | Medium — requires clean data prep | 2–4 weeks (bulk verification) | High — handles 10 to 1,000+ locations | Franchise groups and regional chains |
| Third-Party GBP Management Platform | Low — abstracted UI | Dependent on platform and Google | High — centralized dashboard | Multi-location brands with active operations teams |
| Managed Service (AI + Human) | Low for internal team — fully managed | 2–4 weeks plus ongoing optimization | Very high — scales with AI automation and human oversight | Growth-focused multi-location brands in healthcare, F&B, home services |
Frequently Asked Questions
-
Can a Google Business Profile have multiple locations?
Yes. A single Google Business account can manage hundreds of locations through location groups. Brands with 10 or more locations can use bulk upload to add multiple locations at once and apply for bulk verification. Each location maintains its own listing, categories, photos, and reviews, while all are managed from one central dashboard. -
How do I add multiple locations to Google My Business?
Inside your Google Business account, navigate to your location group and select 'Import locations.' Download Google's bulk upload spreadsheet template, fill in NAP data for each location, and upload the completed file. For fewer than 10 locations, you can add locations manually one at a time. Bulk upload is the recommended approach for 10 or more locations to ensure data consistency. -
How do I optimize my Google Business Profile for maximum local search visibility?
Complete every profile field for each location: accurate NAP data, a specific primary category, up to nine secondary categories, at least 10 photos, a unique business description with local keywords, and pre-populated Q&A responses. Actively manage reviews and post updates at least twice a month. Consistent signals across all fields are what drive Google Maps local pack placement. -
How do I do local SEO for multiple locations?
Local SEO for multiple locations requires consistent NAP data across all listings and citations, location-specific service pages on your website, and active Google Business Profile management per location. Each listing should have unique descriptions, local keyword targeting, and an active review profile. Cross-reference performance monthly using Google Search Console and GBP Insights to identify which locations need attention. -
What is it called when a business has multiple locations?
A business operating across more than one physical address is typically called a multi-location business or chain. In local SEO, this structure requires a multi-location Google Business Profile strategy, where each physical site has its own verified listing managed within a shared business account. Franchise groups and regional brand networks are common examples of this model. -
How do I show multiple locations on Google Maps?
Each location must have its own verified Google Business Profile listing. Once verified and fully optimized, each listing becomes independently eligible to appear in Google Maps results for its city and service area. You cannot display multiple locations on a single listing — each address requires a separate, verified entry within your Google Business account. -
How do I remove or delete Google reviews?
You cannot delete Google reviews directly. You can flag a review for removal if it violates Google's content policies — such as spam, fake reviews, or hate speech — using the 'Report' option inside your Google Business account. Google evaluates flagged reviews and removes those that breach its guidelines. For legitimate negative reviews, a professional, timely response is the most effective reputation management action. -
What is Google local service ads, and how do they relate to my Google Business Profile?
Google Local Service Ads are pay-per-lead ads that appear above standard Google Ads and organic results for service-based searches. They are linked to a verified Google Business Profile and display your business name, rating, and a 'Google Guaranteed' or 'Google Screened' badge. A fully optimized profile with strong reviews improves ad performance and can lower your cost per lead.