
Blog
How To
How to Add Multiple Locations to Google Business Profile
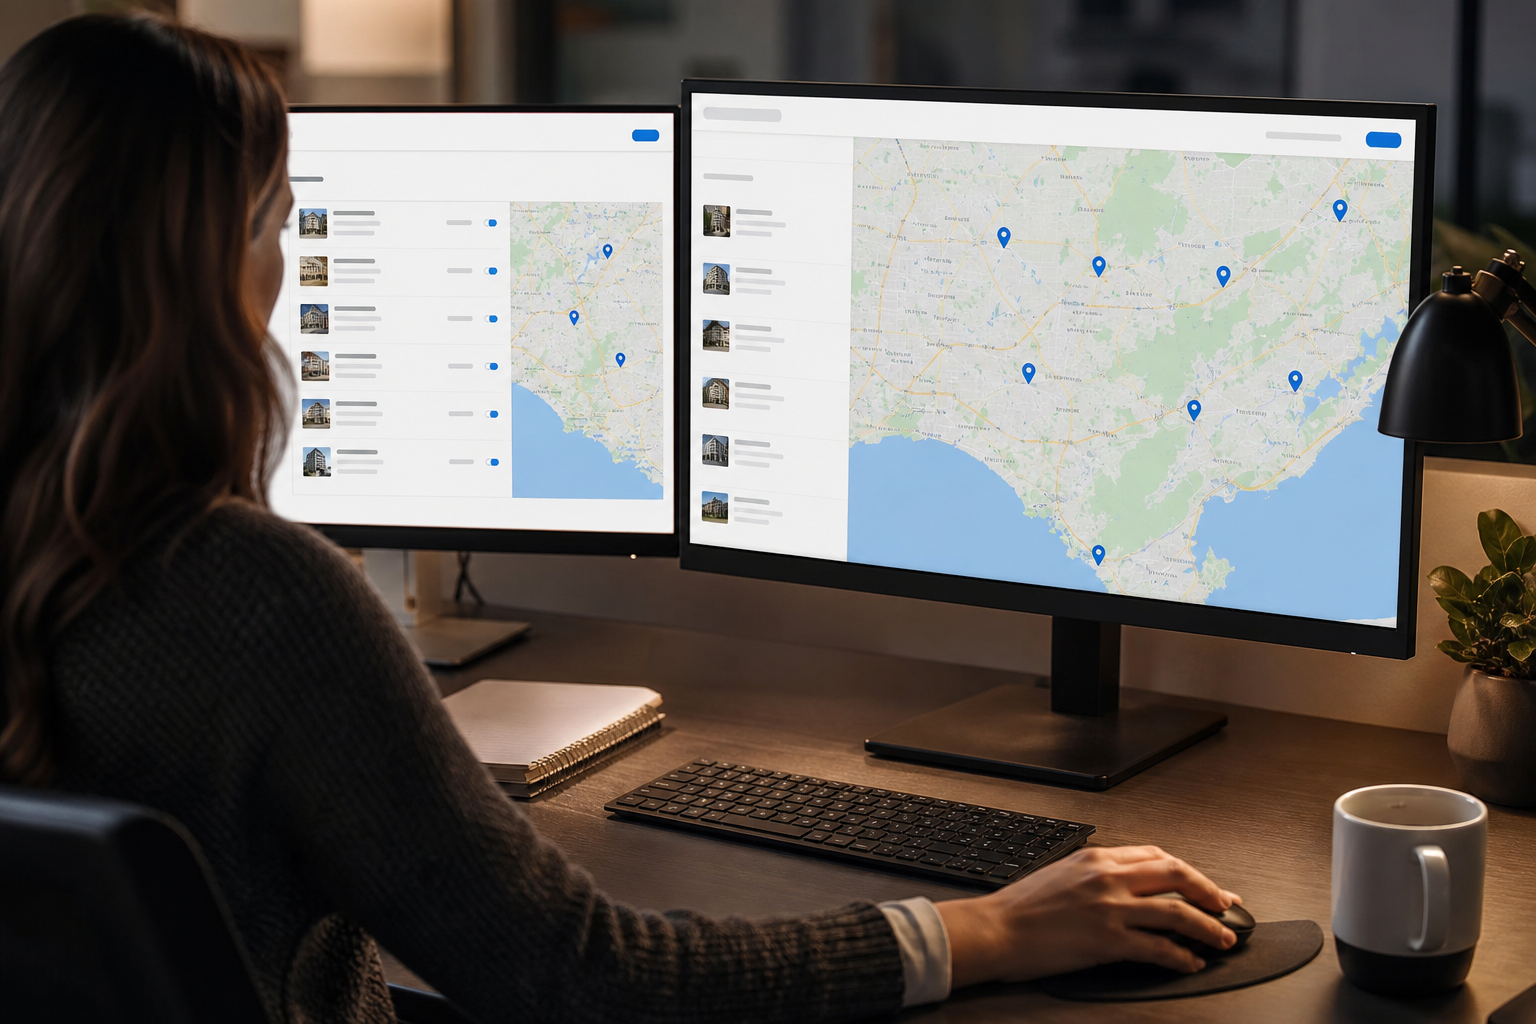
Managing one Google Business Profile is straightforward. Managing ten is where most multi-location brands hit a wall.
Inconsistent NAP data, unclaimed listings, and missed verification steps quietly erode your local search rankings one location at a time. Every unclaimed or incomplete listing is a local competitor's opportunity.
This guide walks you through exactly how to add multiple locations to Google Business Profile — from prerequisites and bulk upload to verification and ongoing GMB optimization. Follow the steps in order and you will have every listing live, verified, and search-ready.
Whether you run a regional restaurant group, a dental practice network, or a home services franchise, the process is the same. The execution details are what separate brands that dominate local search from those that barely appear.
Step 1: Gather the Four Prerequisites Before You Start
Skipping prerequisites is the fastest way to stall mid-process. Before you touch Google Business Profile, confirm you have everything listed below — missing any one of them will block a later step.
You need a Google Business account with Owner-level access to the primary profile. If you only have Manager access, you can add locations but cannot complete certain verification steps. Resolve access levels first.
For each location, you need the exact legal business name, full street address, primary phone number, and business category. These must match what appears on your website, citations, and any directory listings — inconsistency here is the most common source of ranking drops for multi-location brands.
- A verified Google account with Owner access to your existing Google Business Profile
- Legal business name, street address, and primary phone number for every location you plan to add
- A consistent primary business category selected in advance — changing it later triggers a re-review
- Access to a physical address or a service-area definition for each location (P.O. boxes are not accepted)
- For bulk uploads of 10+ locations: a spreadsheet tool (Google Sheets or Excel) to format the CSV correctly
- For chain or franchise setups: confirmation that your brand qualifies for a Business Group (formerly known as a location group) in Google Business
Step 2: Create or Access Your Business Group in Google Business Profile
A Business Group is Google's container for managing multiple locations under one account. If you already manage a single verified listing, you can convert it into a group or create a new group alongside it.
Go to business.google.com and sign in with your Google Business account credentials. In the left-hand menu, select 'Businesses' to see your existing profiles. If you manage more than one location, Google will prompt you to create or join a Business Group.
Name your Business Group clearly — use your brand name followed by a descriptor like 'All Locations' or 'US Locations'. This label is internal only and does not affect how listings appear in Google Maps or search results.
- Navigate to business.google.com and sign in with your Owner-level Google account
- Select 'Businesses' from the left navigation panel to view your current listings
- Click 'Add Business' and then 'Add a single business' or 'Import businesses' depending on your volume
- Create a Business Group name that reflects your brand and the scope of locations in the group
- Confirm the Group owner email — this account retains full control over all locations added to the group
Step 3: Add a Single Location Manually (Under 10 Locations)
For brands with fewer than ten locations, manual entry is the most reliable method. It takes roughly 10 to 15 minutes per location when your information is prepared in advance.
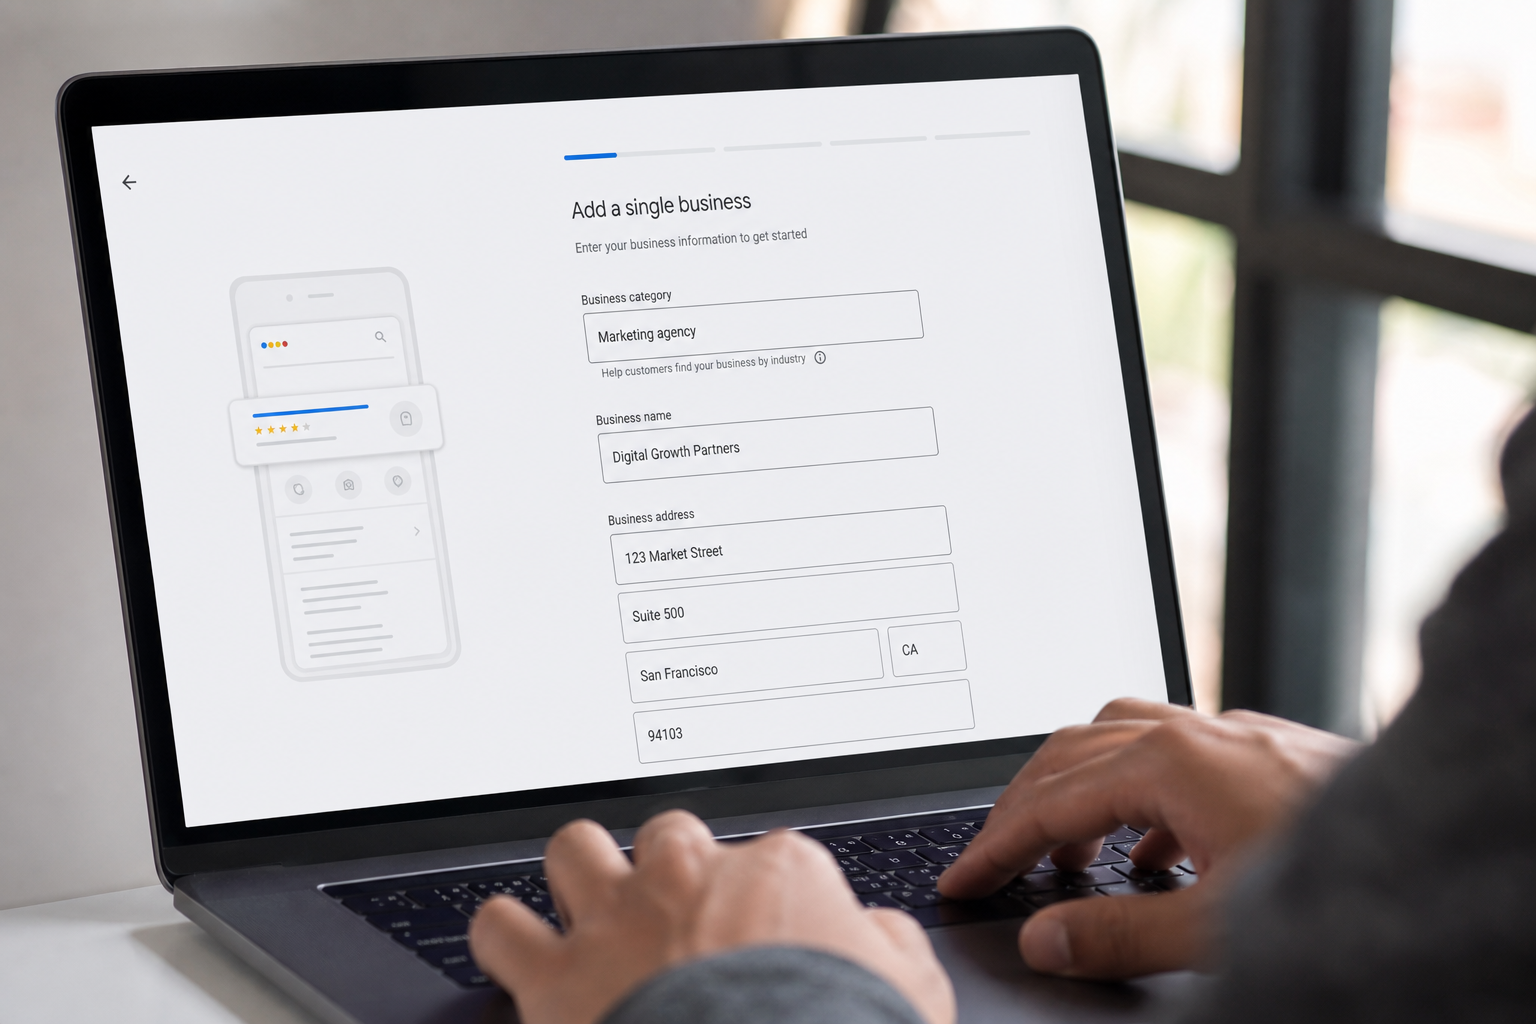
Inside your Business Group, click 'Add Business' and select 'Add a single business.' Enter the business name exactly as it appears on your signage and website. Select the primary category carefully — this is the most influential field for local search ranking.
Enter the full street address for the location. If the business serves customers at their location rather than at a storefront, select 'I deliver goods and services to my customers' and define the service area instead. Do not enter both a physical address and a service area for the same listing — Google treats this as inconsistent data.
- Click 'Add Business' inside your Business Group and select 'Add a single business'
- Enter the exact legal business name — no keyword stuffing, no location modifiers in the name field
- Choose the most specific primary category available for that location's core service
- Enter the complete street address or define a service area — not both simultaneously
- Add the primary local phone number and the most relevant website URL for that location (ideally a location-specific landing page)
- Review all fields before saving — corrections after submission can trigger a re-verification request
Step 4: Use Bulk Upload to Add 10 or More Locations at Once
Google's bulk upload tool is built for brands managing ten or more locations. It lets you import all listings simultaneously using a structured CSV template, cutting hours of manual entry down to a single file submission.
Download the official Google Business Profile bulk upload template from business.google.com. Each row represents one location. Fill in every required column: store code, business name, address, phone, category, website URL, and hours. Leave no required field blank — Google will reject rows with missing data.
A common mistake at this stage is copying and pasting address data from an existing spreadsheet that uses inconsistent formatting. Street abbreviations, suite number formats, and state codes must be consistent across every row. Run a formatting check before upload.
- Download the official bulk upload CSV template directly from business.google.com/bulk
- Complete every required column for each location row — store code, name, address, phone, category, website, and hours
- Use a unique store code for each location to make filtering and reporting easier later
- Standardize address formatting across all rows before uploading — inconsistency causes import errors
- Upload the completed CSV inside your Business Group under 'Import businesses'
- Review the error report Google generates after upload and correct any flagged rows before resubmitting
Step 5: Complete Verification for Each Location
Adding a location and verifying it are two separate steps. An unverified listing does not appear in Google Maps or local search results — it exists in your dashboard but is invisible to customers.
Google offers several verification methods: postcard by mail (5 to 14 business days), phone call, email, video recording, or instant verification if your domain is already verified in Google Search Console. The method available to you depends on the business type and location.
For multi-location brands, postcard verification is the most common bottleneck. Request all postcards at once, track them by store code, and set a calendar reminder to enter each PIN within 30 days — expired PINs require a new request.
- Select a verification method for each location immediately after saving — do not leave it pending
- For postcard verification: confirm the mailing address is staffed and can receive mail within 14 business days
- For phone or email verification: ensure the number and address are actively monitored at the time of the call or message
- For video verification: record a continuous walk from the street to the interior, showing the storefront signage clearly
- Track each location's verification status inside the Business Group dashboard using the store code
- Re-request any postcard PIN that has not arrived within 14 days — do not wait until it expires
Step 6: Optimize Each Listing for Multi-Location Local SEO
Verification makes a listing visible. Optimization makes it rank. A verified but incomplete profile still loses to a competitor with complete photos, accurate hours, and active Q&A content.
For each location, complete the business description (750-character limit), add at least ten photos, confirm holiday hours, and populate the Q&A section with three to five pre-answered questions. These signals directly influence your Share of Local Voice in the markets you serve.
Platforms like Cube — backed by Sequoia Capital and built to serve multi-location brands across healthcare, hospitality, and home services — offer AI-assisted GMB optimization that audits NAP consistency, photo quality, and category accuracy across all listings simultaneously. For brands managing twenty or more locations, manual optimization at this level is not scalable.
- Write a unique 750-character business description for each location — avoid copy-pasting the same text across listings
- Upload at least 10 photos per location: exterior, interior, team, and product or service shots
- Set accurate primary and secondary business hours, including holiday hours for the next 90 days
- Add 3 to 5 pre-answered Q&A entries covering directions, parking, services offered, and payment methods
- Ensure each location links to a dedicated location page on your website — not the homepage
- Audit NAP consistency across all listings using a tool or service before considering optimization complete
Step 7: Monitor Performance and Maintain All Listings Over Time
Adding and verifying locations is not a one-time task. Google regularly suspends listings that contain policy violations, outdated information, or suspected duplicate entries. A suspended listing disappears from search with no advance warning.
Check each location's status monthly inside the Business Group dashboard. Monitor Google Search Console for any manual actions tied to your domain. Review customer-suggested edits — Google allows anyone to propose changes to your listing, and these can go live automatically if left unreviewed.
Respond to every review on every location. Google uses review velocity and response rate as local ranking signals. For brands managing reviews across dozens of listings, a centralized response system is not optional — it is the difference between a consistent local presence and one that erodes quietly.
- Check listing status monthly in the Business Group dashboard — look for 'Pending,' 'Suspended,' or 'Duplicate' flags
- Review and approve or reject any customer-suggested edits within 7 days of submission
- Respond to all new reviews within 48 hours across every location
- Update business hours immediately when they change — especially for holidays and seasonal adjustments
- Monitor Google Search Console for domain-level signals that may affect local listing performance
- Run a quarterly NAP audit to catch any data drift introduced by third-party directory updates
| Method | Best For | Time to Complete | Verification Required | Scalability |
|---|---|---|---|---|
| Manual Entry (Single Location) | Brands with 1–9 locations | 10–15 min per location | Yes — per listing | Low |
| Bulk CSV Upload | Brands with 10+ locations | 2–4 hours total setup | Yes — per listing | High |
| Agency / Managed Service | Franchise groups and multi-location operators at scale | Delegated to provider | Managed by provider | Very High |
| Google Search Console Domain Verification | Brands with an existing verified domain | 30–60 min one-time | Instant for eligible listings | Medium |
Frequently Asked Questions
-
How do I add multiple locations to Google Business Profile?
Sign in to business.google.com with an Owner-level account and create a Business Group. For fewer than 10 locations, add each one manually using 'Add a single business.' For 10 or more, download Google's bulk upload CSV template, complete all required fields for each location, and import the file. Each location must be verified separately before it appears in Google Maps search results. -
What is a multi-location Google Business Profile and how does it work?
A multi-location Google Business Profile is a Business Group that contains separate, individually verified listings for each physical or service-area location under one brand. Each listing has its own NAP data, photos, hours, and reviews but is managed from a single dashboard. This structure lets operators update, monitor, and optimize every location without switching between accounts. -
How do I set up multiple business locations on Google Maps?
Each location must first be added and verified inside Google Business Profile before it appears on Google Maps. Use the Business Group dashboard at business.google.com to add locations individually or via bulk CSV upload. Once verified, each listing generates its own map pin. Optimization signals — photos, hours, reviews — determine how prominently each pin ranks in local map results. -
Can I manage multiple GMB listings from one Google business account?
Yes. Google Business Profile supports Business Groups that allow one Owner account to manage dozens or hundreds of location listings from a single dashboard. You can also grant Manager or Owner access to team members for specific locations without sharing your primary account credentials. This structure is designed for franchise groups, regional operators, and multi-location brands. -
What is the fastest way to add 10 or more locations to Google Business Profile?
The bulk CSV upload tool is the fastest method for 10 or more locations. Download the official template from business.google.com, populate every required column for each location row, and import the file into your Business Group. Google processes the file and returns an error report for any rows that need correction. Verification for each location still follows separately after import. -
How does multi-location local SEO differ from single-location SEO?
Multi-location local SEO requires consistent NAP data, unique content, and individual optimization for every listing — not just one. Each location competes independently in its local market, so duplicate descriptions, missing photos, or inconsistent hours at any single listing can suppress that location's ranking without affecting others. The management overhead scales with location count, making centralized tools or managed services more practical at volume. -
Why is my Google Business Profile not showing on Google Maps after adding a new location?
A newly added location will not appear on Google Maps until it is verified. Verification by postcard takes 5 to 14 business days. Phone, email, or video verification can be faster if available for your listing type. Also check that the listing status in your Business Group dashboard does not show 'Pending,' 'Suspended,' or 'Duplicate' — any of these will prevent the listing from going live. -
What are the most common GMB optimization mistakes for multi-location businesses?
The most common mistakes are inconsistent NAP data across listings, using the same business description for every location, and leaving reviews unanswered. Other frequent errors include selecting an overly broad primary category, linking all locations to the homepage instead of individual location pages, and ignoring Google-suggested edits that can silently overwrite accurate information. Each of these issues directly reduces local search visibility.